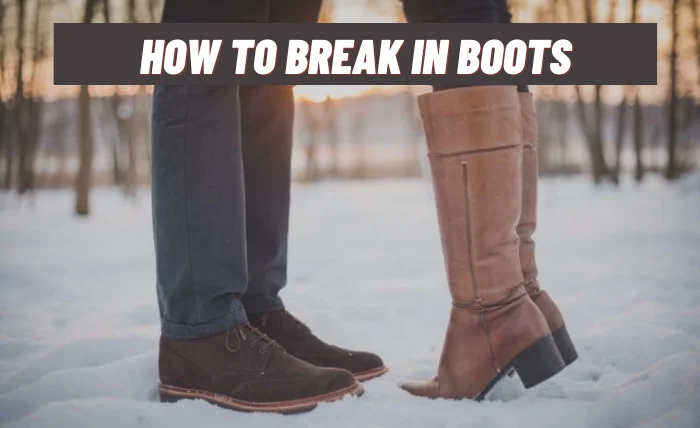
Buying new boots is exciting until you wear them and feel the brutal stiffness. Intense foot pain is no way to start your boot adventures. The key is gradually breaking them in to soften the material before attempting all-day wear. With some simple techniques, you can turn that toe-pinching, blister-inducing footwear into a custom-molded extension of your foot.
This article will cover time-tested methods for effectively breaking in leather, suede, or synthetic boots. You’ll learn to stretch, bend, and create give at key pressure points. Your shoes will go from fresh out of the box to road-ready. Get step-by-step tips to break in those boots without breaking your feet.
Overview of the Boot Break-In Process and Benefits
To ensure your boots fit like a glove, initially wear them for short periods. Gradually increase the time to let the leather mold to your foot’s shape, avoiding discomfort during long walks. This process not only enhances comfort but also prolongs the lifespan of your boots.
Applying Leather Conditioners
Before striding out, treat your boots with leather conditioners or oils. This hydrates the material, preventing cracks and promoting flexibility. Apply evenly, allowing it to seep in, and witness your boots becoming supple companions on every journey.
Stretching Techniques
Give your boots a little breathing room when not in use. Insert shoe stretchers or crumpled newspaper to widen them gently. This method lets the leather adapt to the natural contours of your feet, easing any pinching or tightness.
Wearing Thick Socks Initially
Begin your boot journey with thick socks. This trick not only adds an extra layer of cushioning but also helps in expanding the leather. The snugness of the socks encourages the boots to shape around your feet comfortably.
Starting with Short Periods of Wear
Wear your boots for just an hour or two initially. Gradually extend the time as your feet adapt, ensuring a snug fit without the pain. This step-by-step approach ensures you and your boots become the perfect match without discomfort.
Avoiding Rugged Terrain
No need to be a trailblazer from the start. Opt for normal strides and avoid rough terrain initially. Let your boots adapt to regular walking movements before taking them on a challenging adventure. This gentle introduction ensures your boots break in without unnecessary wear and tear.
Identifying Hot Spots
Listen to your feet. Pay attention to any hot spots or discomfort as you wear your boots. Pinpoint these areas and focus on giving them extra time during the break-in process. This proactive approach ensures you address specific concerns, making your shoes feel custom-made for your feet.
Everyday Break-In Techniques
Simplify the break-in with everyday practices that seamlessly blend into your routine.
Using Boot Stretchers Each Night
Give your boots some nightly TLC! Inserting boot stretchers each night gently widens them, allowing the leather to adjust gradually. This consistent approach ensures a comfortable fit without the need for intensive wear.
Wearing Boots Consistently
Make your boots a daily companion. The more consistently you wear them, the better they mold to the unique shape of your feet. This habitual use encourages a personalized fit, making your boots feel like a natural stride extension.
Apply Leather Conditioners
Nourish your boots for longevity. Regularly applying leather conditioners keeps the material supple and resistant to cracks. This ongoing care guarantees your shoes remain comfortable and durable throughout their lifespan.
Advanced Stretching Methods
Elevate your boot break-in game with these targeted and effective techniques.
Areas to Soften Leather
Have you got a tight spot? Dampen the problem areas with water to soften the leather. Wear your boots as the material becomes more pliable to let them mold seamlessly to your feet. This technique is a game-changer for addressing specific points of discomfort.
A hairdryer to Heat and Flex Boots
Turn up the heat for flexibility! Use a hairdryer to warm up tight areas in your boots. Once warmed, flex the shoes to encourage the leather to shape around your feet. This method provides instant relief and accelerates the break-in process.
Applying Moleskin Bandages
Spotting discomfort is critical. Apply moleskin or bandages to areas where your boots rub against your skin. This protective layer reduces friction, allowing your boots to adjust without causing blisters or sore spots. It’s a tactical approach to a smoother break-in.
Final Touches for Comfort
Fine-tune your boot experience with these simple yet impactful adjustments.
Inserting Orthotic Insoles if Needed
Tailor your boots to your comfort needs. If extra support is required, consider inserting orthotic insoles. These provide personalized cushioning, enhancing comfort and reducing strain on your feet. It’s the finishing touch for a bespoke feel.
Waterproofing Boots After Fully Broken In
Seal the deal with waterproofing. Once your boots are fully broken in, apply a waterproofing spray or wax to keep them resilient against the elements. This not only prolongs the life of your boots but ensures they remain reliable companions in all weather conditions.
Transitioning to Preferred Socks
Choose your companions wisely. Transition to your preferred socks as your boots settle into their perfect form. Whether they’re thick, cozy ones for winter or breathable options for warmer days, the right socks complement your boots, providing the ideal finishing touch for day-long comfort.
Conclusion
How to break in boots is vital to transforming stiff footwear into a comfortable, custom fit. By following these systematic techniques of gradual wear, leather conditioning, stretching, and advanced methods, you can seamlessly transition from discomfort to road-ready comfort.
These final touches, including orthotic insoles, waterproofing, and preferred socks, ensure your boots become reliable companions, perfectly molded to your feet for all-day adventures.


