Removing logos and graphics opens creative possibilities, whether you want to refresh thrift store finds or customize purchased apparel. However, taking a seam ripper to those prints can easily damage the material if done incorrectly. You can successfully erase logos from any garment fabric with care and the proper techniques.
This article will explore simple, safe methods for stripping logos using everyday household products. You’ll get step-by-step instructions that protect the integrity of your threads. Soon, you’ll feel confident to discreetly remove labels and make clothing uniquely your own with these logo deletion tips and tricks.
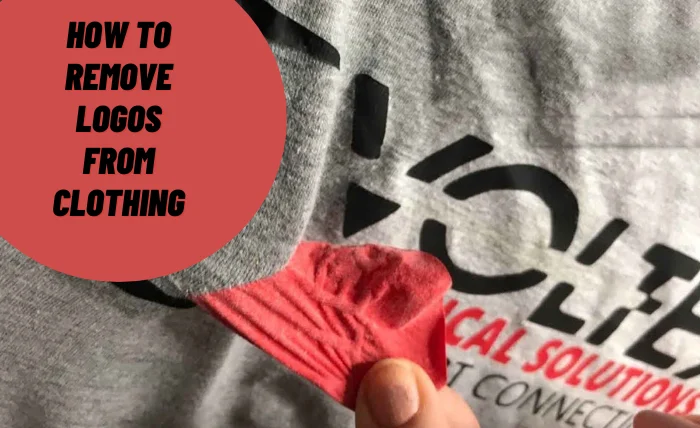
The Art of Wardrobe Personalization: How To Remove Logos From Clothing
Logos on clothing can be divisive. While some appreciate the brand representation, others prefer a more understated or personalized style. Removing logos allows you to reclaim a garment, making it a versatile piece that aligns with your unique fashion sense. It’s a statement of individuality in a world often dominated by brand-centric choices.
RemovalThe Importance of Care
Before delving into the techniques, it’s crucial to emphasize the need for careful and respectful logo removal. Each garment is crafted with precision, and removing a logo should be done with the same level of attention. This ensures the fabric remains intact and the overall aesthetic is not compromised.
Tools of the Trade
- Gentle Solvents: Use mild solvents like rubbing alcohol or nail polish remover. Test on a small, inconspicuous area first to ensure it won’t damage the fabric.
- Heat Source: A hairdryer or an iron can help loosen the adhesive. Please keep it on a low setting to prevent damage.
- Sharp Tools: Use precision tools like a seam ripper or small scissors to cut threads holding the logo delicately.
Alcohol’s Gentle Touch
Alcohol is a reliable solvent for removing logos. Dab a small amount on a cloth and gently rub the emblem. The alcohol helps break down adhesive without harming the fabric. Remember to test on a hidden area first.
Applying Heat
For logos attached with adhesive, heat can be your ally. Hold a hairdryer at a safe distance or use an iron with a protective cloth. Warm the logo area, making the adhesive more pliable. Slowly peel off the logo with a sharp tool.
Surgical Precision with Scissors
For stitched logos, precision is critical. Use small scissors or a seam ripper to cut the logo threads carefully. Take your time and work slowly to avoid damaging the surrounding fabric.
Elevating Your Wardrobe: After Logo Removal
Once the logo is successfully removed, give your garment some TLC. Launder or dry clean it according to the fabric care instructions. This ensures any residual solvent is removed, and your clothing is ready to make a stylish statement.
Styling Tips for Logo-Free Pieces
With the logo gone, embrace the versatility of your clothing. Layer, accessorize, mix, and match it with various pieces to create diverse looks. A logo-free garment allows you to be the designer of your style narrative.
Upcycling and Sustainability
Removing logos isn’t just a fashion choice; it’s also an ethical one. You contribute to a more sustainable fashion industry by repurposing and upcycling clothing. It’s a small step towards reducing waste and promoting mindful consumption.
Conclusion
The art of logo removal is essential for those seeking a personalized wardrobe. Whether rejuvenating thrift store finds or customizing purchased apparel, the importance of careful and respectful logo removal cannot be overstated. Following this guide’s simple, safe methods, you’ll confidently and discreetly erase logos from any garment, preserving its integrity.
The freedom to style uniquely, making your fashion choices align with your individuality. Elevate your wardrobe ethically, contributing to a more sustainable fashion industry one logo removal at a time.


